Hi bloggers! I started with a piece of silver sparkle card for the background. I cut the Alice die twice out of blush card and once out of Brushed Silver card. I cut all of the Alice die cuts in half. I glued the blush die cuts to the background first. I glued two halves to the top of the card and two to the bottom of the card. I slightly overlapped both of them. I glued the two halves of the brushed silver die cuts to the middle of the top and bottom of the card. I cut the Sending A Happy Hello sentiment in both slate grey and black. I shadowed the sentiment and then added it to a white shadow backing die and added it to the centre of the card with mounting foam. The card was completed with white, blush and slate grey mats and layers. The finished dimensions are 6 1/2" x 8 1/2" in size.

Hi there my crafty friends! I went digging in my scrap pile and found some tan, slate grey and dark brown strips to use. I added them to a larger piece of white card and laid down the strips until about half ay across the card. I cut the Double Stitched Rectangles in black and white and matted them together and added them to the middle of the card. I cut the Tyre Tracks in black and glued them across the white mat. i cut the Vintage Car out of Brushed silver card and added it with mounting foam. I cut the cog border from the Assorted Tool Borders out of black card and glued it to the left side of the card. I cut the You're A Real Classic sentiment in black and added it to a white shadow backing piece. I attached the sentiment to the top of the card with mounting foam. The card was completed with white mats and layers. The finished dimensions are 7 1/4" x 8 1/4" in size.
All for now, Sue x
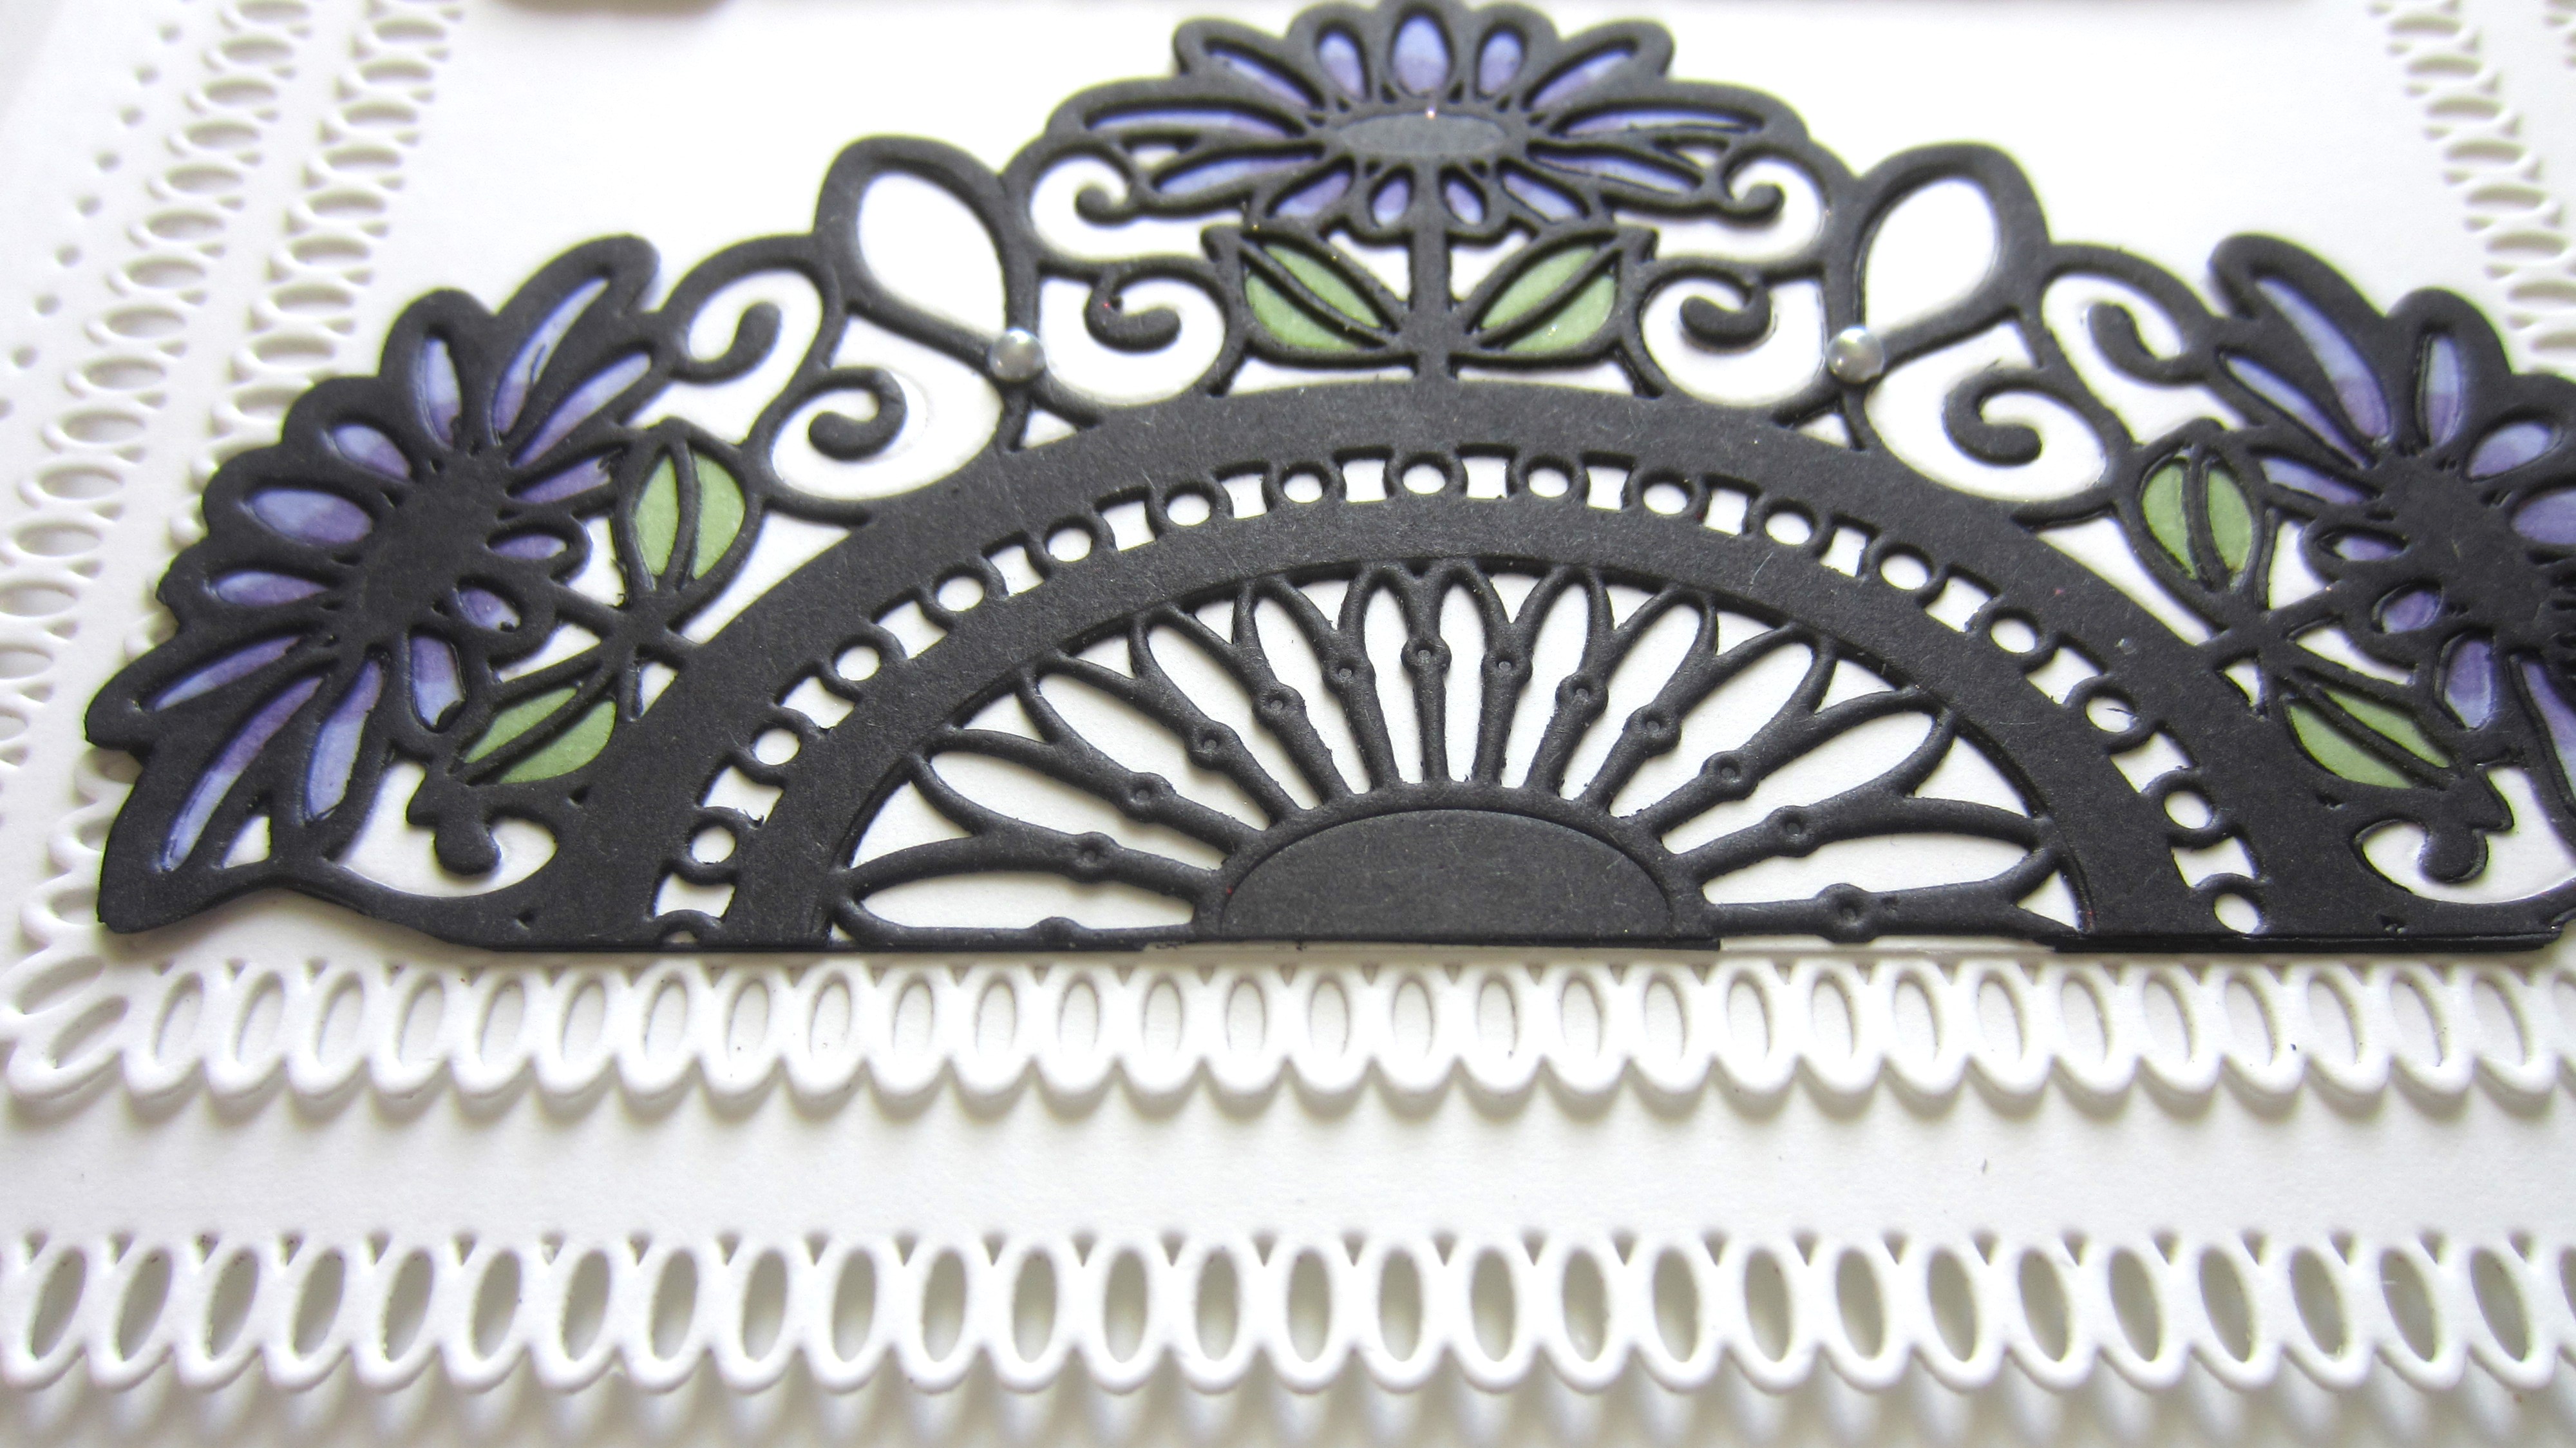
Hello bloggers! I started by cutting the Looped Rectangles in white with two sizes that I matted together. Next I cut the Hazel die with a piece of black card on top of a piece of white card. I coloured the white copy with blue and green alcohol ink markers, then I added the black die cut and glued it on top. I cut the die in half through the centre and mounted each half so the cut edge was lined up with the top and bottom of the card. I cut the Happiness Is Spending Time With A Friend sentiment in black and I added it to the backing die which I cut in white. The sentiment was added to the middle of the card with mounting foam. The card was completed with white mats and layers. The finished dimensions are 6 1/4" x 7 1/2" in size.
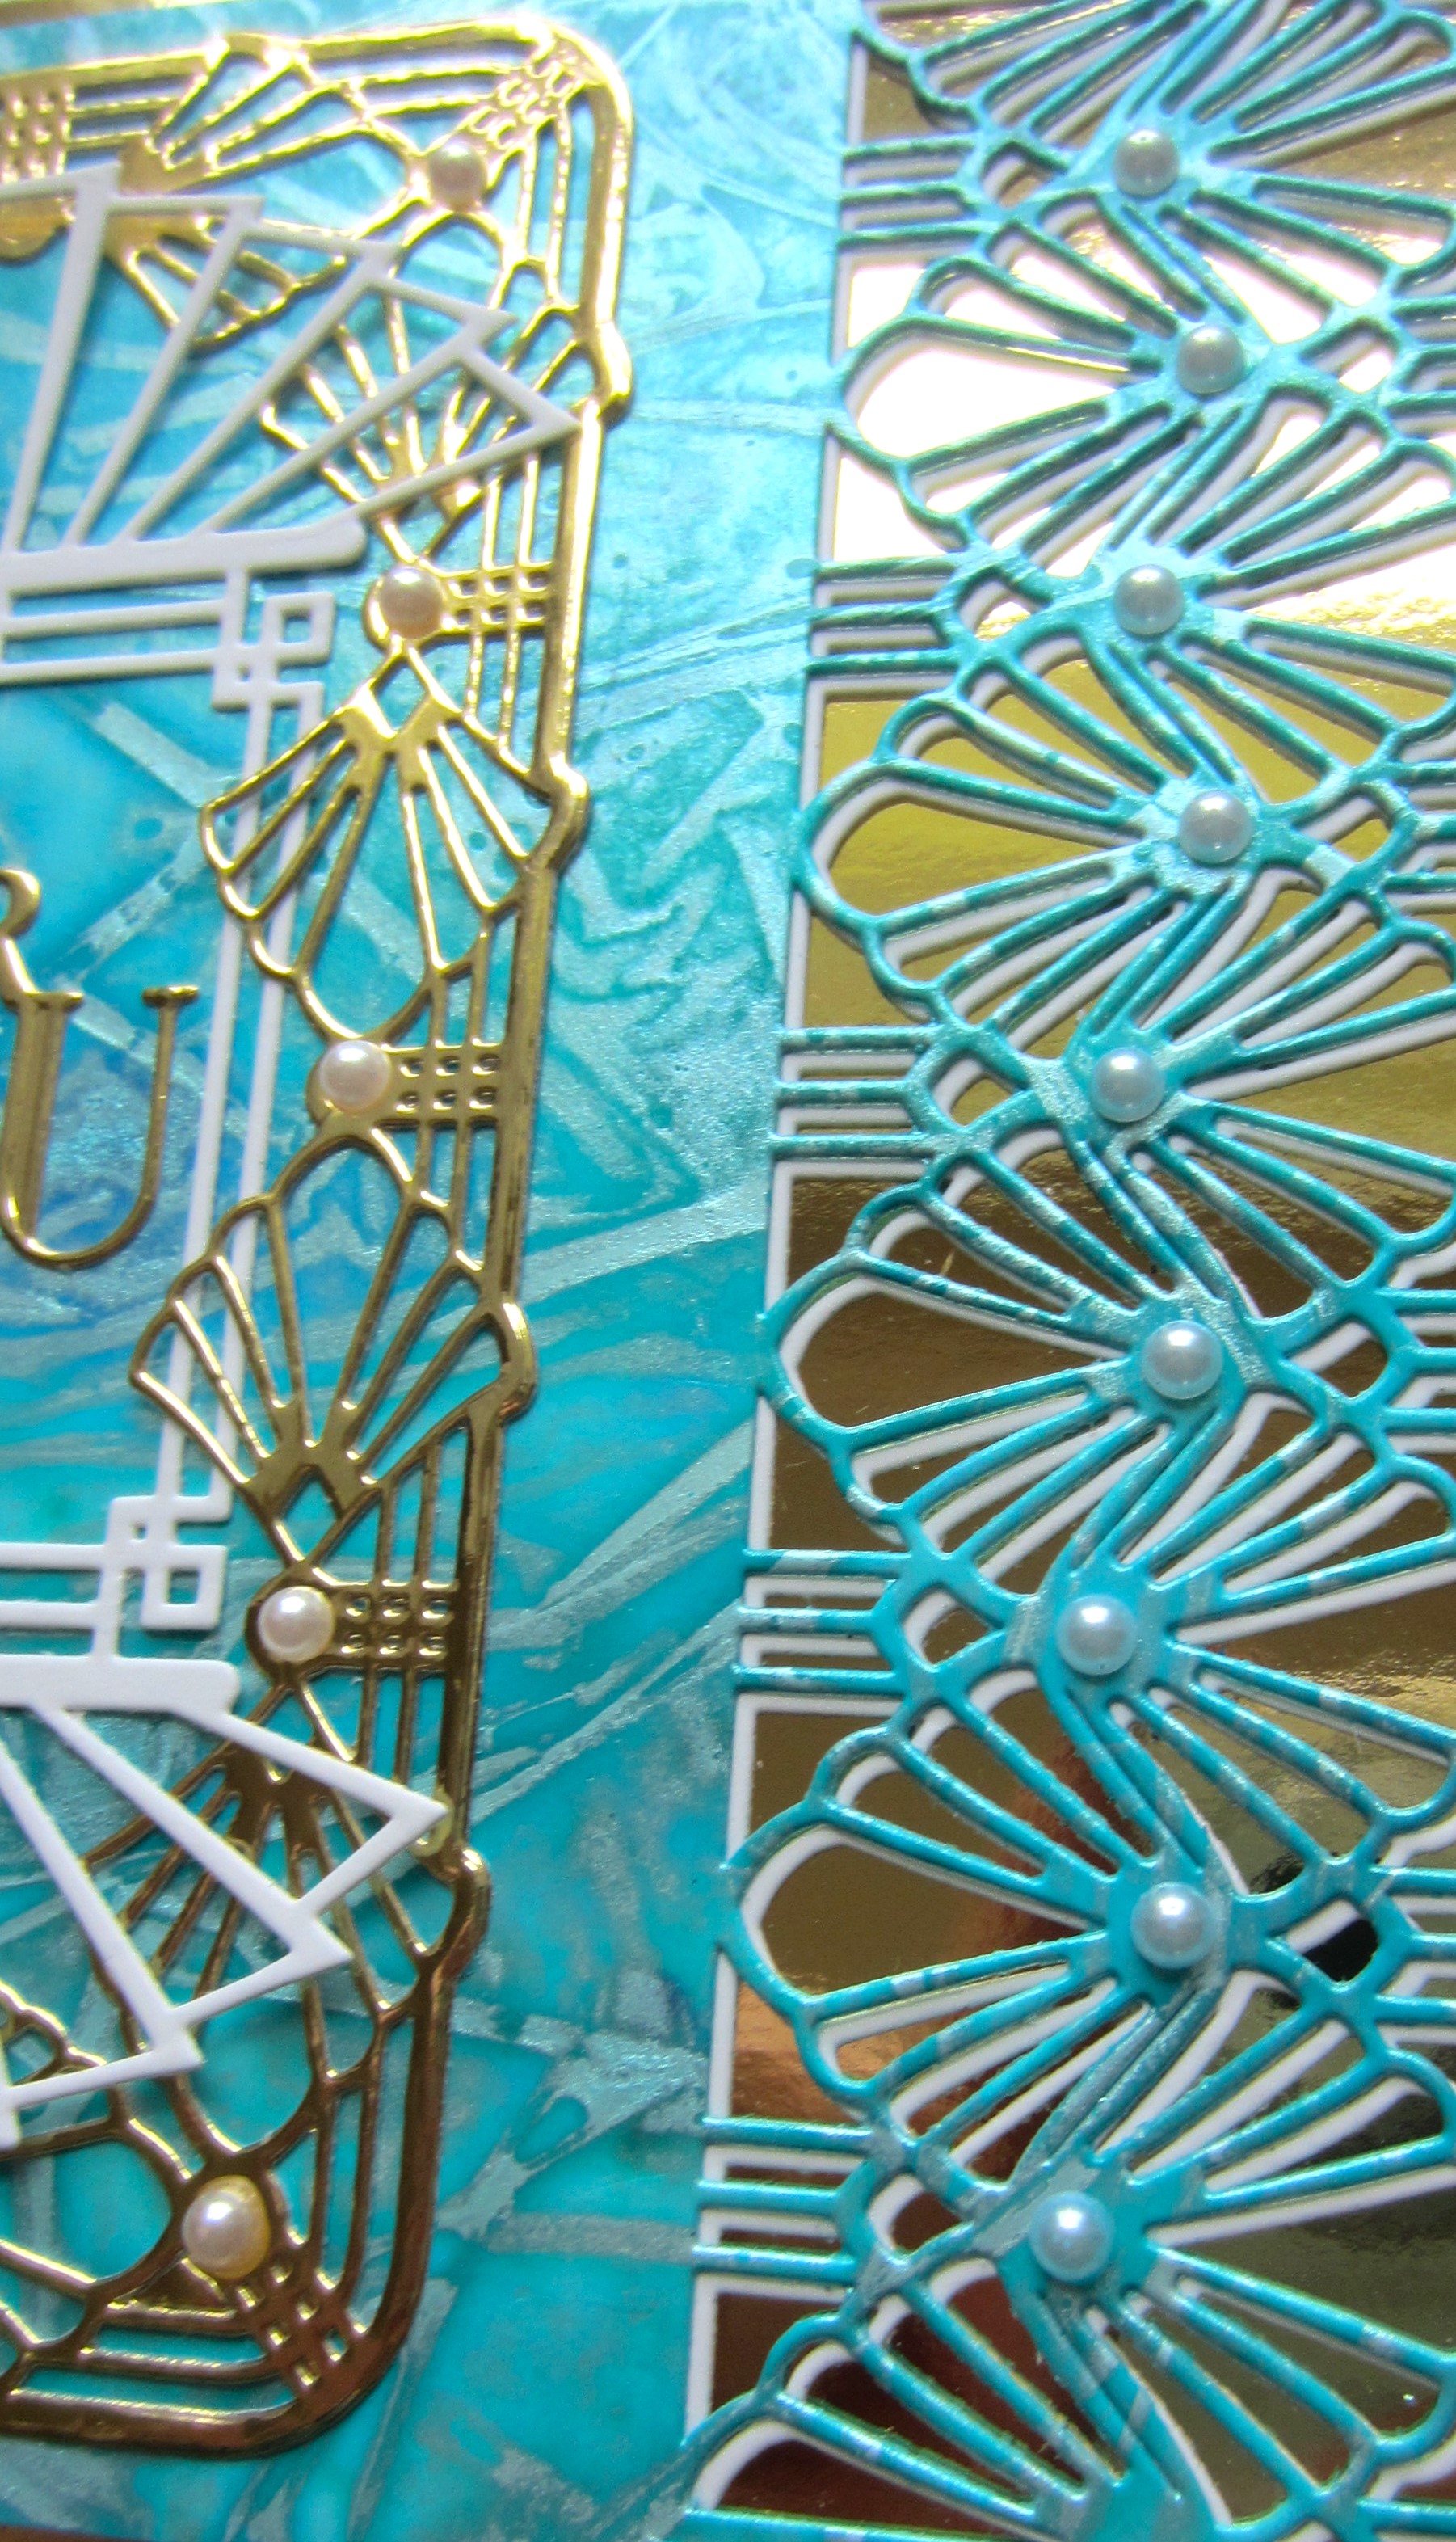
Good Sunday morning all! I selected a piece of pixied card from my background stash. This piece used Aqua Lagoon an Teal Wash Pixie Powders. I used the Art Deco Fan Border and cut it into the card on both the left and right sides of the card. I cut two more of the fan borders in white and I offset them behind the borders cut into the card. I backed it with a piece of gold Mirror card. I cut the Elegant Fanfare die out of gold mirror card. I cut the die again out of white and offset it behind the gold die cut, then glued it to the middle of the card. I cut the Fantail Rosette in white and seated it vertically in the middle of the card. I cut the Art Deco For You sentiment out of gold mirror card and glued it to the middle of the Fantail Rosette. The card was completed with white mats and layers. The finished dimensions are 7 1/4" x 9" in size.
Hello crafters! For the background of today's card, I ripped small pieces of masking tape and added them to a piece of black card. When the entire piece was covered with masking tape pieces, I went over the top of it with a Black Soot Distress ink pad, then sprinkled clear embossing powder over it and heated the powder until it melted. I cut the two cars from the Super Car die set out of Black Gloss card and attached them to the background with mounting foam. I cut the cog border from the Assorted Tool Border die set in both black and white card, cutting two of each. I used the white die cut as an offset shadow behind the black ones then glued them to each side of the card. I cut the World's Best Dad sentiment in black and glued it to a white shadow backing die and added it to the middle of the card. The card was completed with white mats and layers. The finished dimensions are 7" x 8 3/4" in size.
Hello bloggers! I used the middle die from the Diamond Radiance Background and cut it into a piece of white card. I added mounting foam to the back of it then added it to a piece of silver sparkle card. I cut the Art Deco Have A Roaring Good Time sentiment out of black gloss card. I glued it above the die cut. I cut the car from Travel In Style die set out of black gloss card and attached it so it looked like it was coming out of the card. I cut the plane in black gloss card and added the flag out in white. I stamped it with Many Thanks and glued it to the top of the card. The card was completed with white mats and layers. The finished dimensions are 7" x 7 3/4" in size.
Follow my blog with Bloglovin